For five months last year I had tape-in hair extensions. Anyone who spent more than 10 minutes with me from August through to December would’ve heard me discuss my latest and greatest personality trait: thicker, longer and undeniably luscious hair. I loved my new mane. In fact, I was positive this was the new me. There was no longer a Ruby without tape-in extensions; sorry but that’s just the way it had to be.
At least until the hot Aussie summer rolled around and my priorities quickly began to shift.
Hair extensions require a certain lifestyle and commitment to maintenance. Scraping your hair back into a bun or high ponytail? Not possible. Regularly diving into the ocean? A crime.
As the days began to climb anywhere from 30 degrees and over, I realised it was time for my hair and I to break up. And boy did I get a rude shock trying to readjust to my natural hair.
What happened when I had my hair extensions removed?
So, here’s the thing: sitting in the chair having my tapes removed and combed out really spooked me. I didn’t love the way I looked without them and putting my hand to feel my essentially non-existent ponytail was quite deflating.
Before getting the tapes in, I quadruple confirmed that they weren’t going to take me down the same path as I’d gone with eyelash extensions (losing all your natural lashes once your falsies are removed). However I was assured that with proper care and regular maintenance, my natural hair would not be impacted. And on the whole, this was correct.
Why did my hair feel thinner after my extensions were removed?
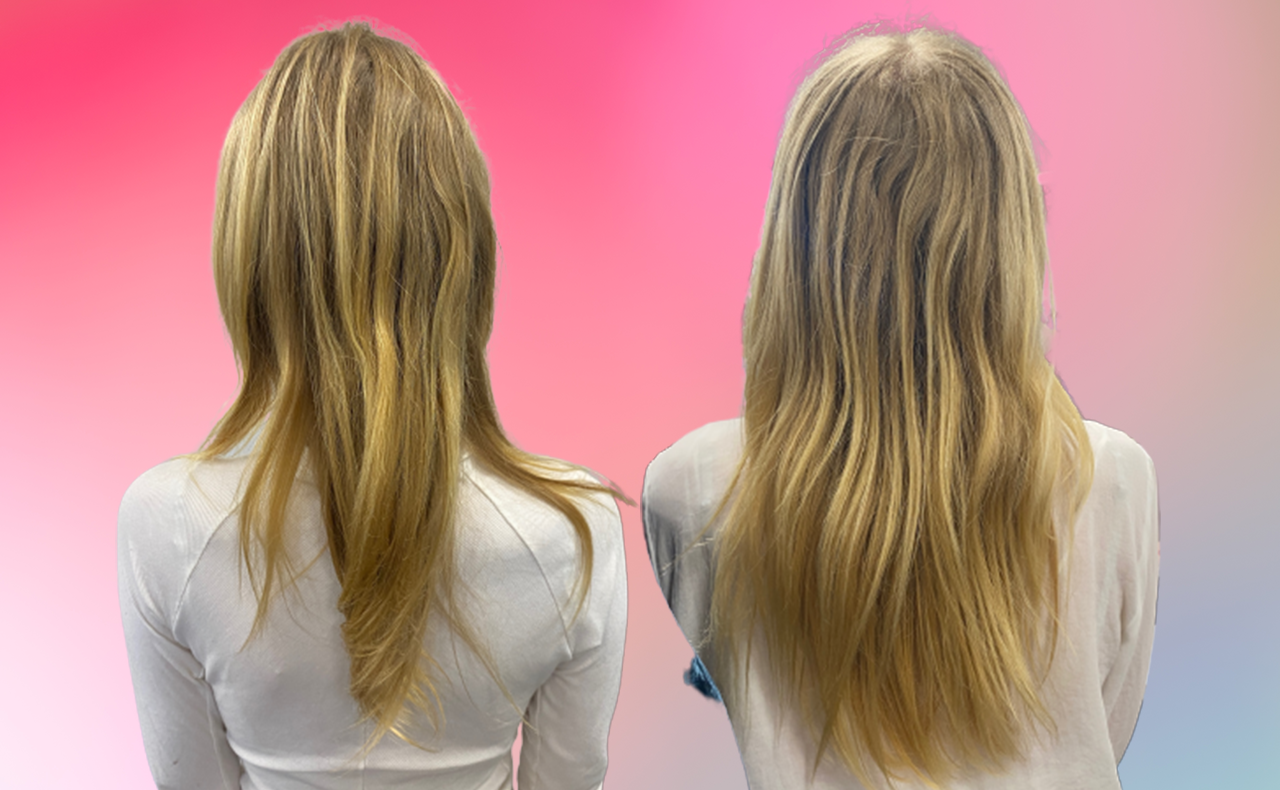
The extensions hadn’t damaged my natural hair. However, the contrast between the tapes and my natural, fine hair made me quickly want to put them straight back in.
There was an undeniable confidence that came with having thicker hair. And knowing this made me laser focused on doing whatever I could to elevate the health of my natural hair, a process I’d truthfully never committed to before.
Up until this point, my haircare routine was intended to keep my roots clean and frizz-free. As for the rest? I accepted the hand I had been dealt. What hand was that exactly? Fine, thin, easily-knotted and colourless strands.
So, off I went…
6 steps I followed to thicken my hair…
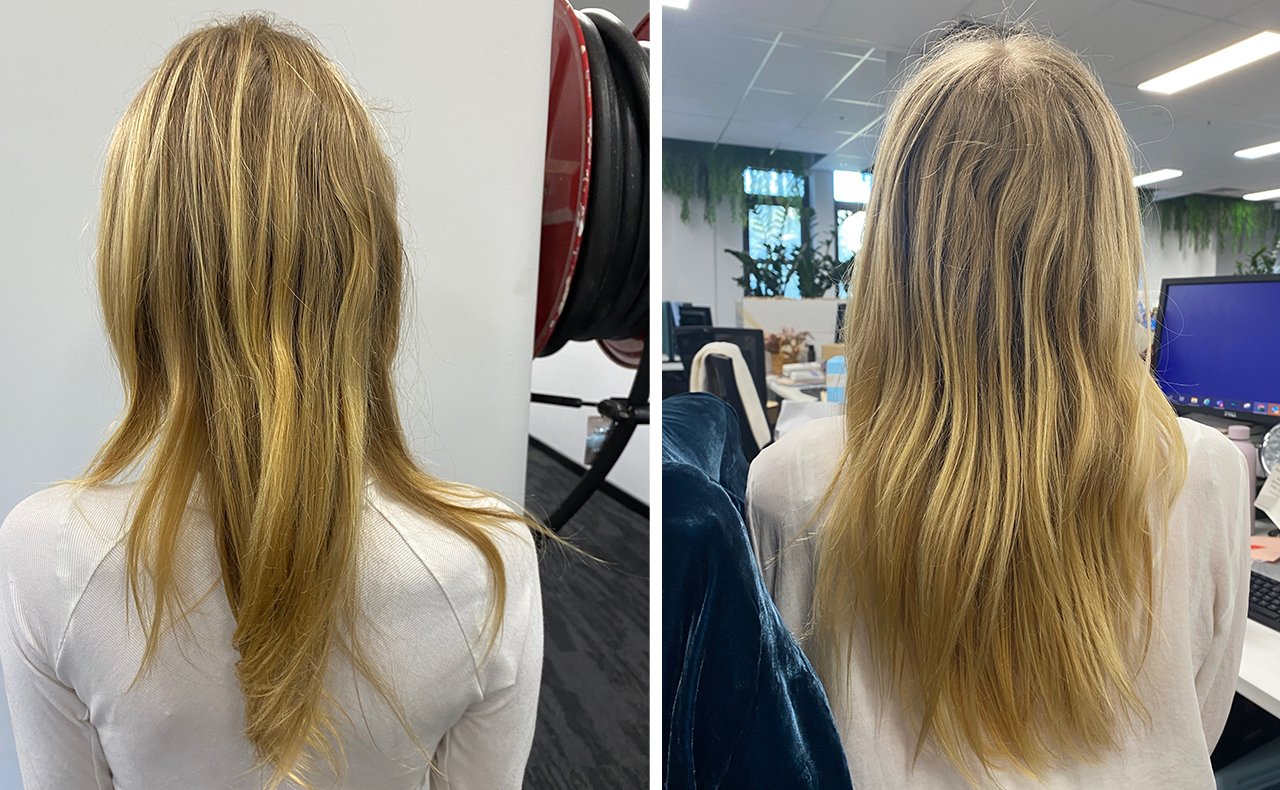
#1 Coloured it
Permanent colour expands the cuticle layer in our hair which thickens individual strands. As a natural blonde, I often go over a year without colouring my hair. Of course this has its benefits: my hair is healthy and soft, and I’ve saved myself a ton of money.
However, in terms of the change in texture that comes with hair dye, I’ve also lacked the weight and fullness that comes with colour. As part of my hair-strengthening journey, my first point of call was to get a light layer of colour and a toner.
#2 Chop
When you attend maintenance appointments for extensions, they cut layers into your hair every six weeks to ensure your tapes seamlessly blend in. Without my hair extensions, said layers left me looking a little scrappy.
Regular cuts have restored the health of my hair and having it chopped all at the one length has created the appearance of a thicker head of hair overall.
#3 Hair growth shampoo and conditioner
Instead of a ‘thickening’ product that’s going to add short-term volume, I enlisted a science-backed growth-enhancing shampoo and conditioner.
Vegamour’s GRO Revitalizing Shampoo and Conditioner ($111, Vegamour) uses proteins that physically bond to our hair follicles and strands in order to promote thicker, healthier hair.

After all, have you seen the mane on Nicole Kidman?
#4 Growth serum
Nicole’s help didn’t stop there. I also included Vegamour’s GRO Hair Serum ($72, Vegamour) which I slept with on my scalp every other night. Formulated to target hair thinning and fallout, this plant-based dropper bottle is applied straight to the scalp and works to create fuller hair within three months of use.
#5 Daily hair supplement
Here’s the thing about supplements: I purchase them with the best of intentions but I only take them when and if I remember.
In reality, this usually sees me taking a sporadic pill sometimes once a month, sometimes twice a week, until the bottle expires and I dispose of it with 80 per cent of the product remaining. Not this time.
When I committed to taking the SWIISH’s Hair and Metabolism ($49, SWIISH), I didn’t miss a day for over a month.

Formulated with biotin, riboflavin and zinc, these supplements work to support hair growth and strength, with the added bonus of benefitting your nails at the same time.
#6 Scalp scrubs
One thing I found as a result of having extensions was severe dandruff. Why? The chemicals which were used to glue the tapes to our hair irritated my scalp to no end. Dandruff can result in blocked or damaged hair follicles which inhibit the growth of new hair. The best way to really give your scalp the true clear out it deserves? A scalp scrub.
Once my extensions were removed I had full, unconstructed access to my scalp once again. So in I went with the A’kin Purifying Scalp Revival Scrub ($21.95, Oz Hair & Beauty) and sloughed away all lingering dead skin, making room for new growth. And new growth was exactly what I got!
Have you tried any of these hair-strengthening tips? If not, what practices do you rely on to nourish your hair when it needs some TLC?

I’ve used the scalp scrub before. I like looking after my scalp.
On top of shampoo and conditioning I use hair masks and enjoy a good scalp scrub too.
I use my fingers to give a good massage when i am shampooing and have never had problems with my scalp
Growing shampoo looks interesting, I would like to trim it.
Wonderful tips, I use some of these and apply a mask regularly which helps so much.
Yes I do use a hair mask which does keep my hair in condition
I rarely use my hair mask. Must start getting back into that habit again
I haven’t tried any of these products but results look good
A hair mask always seems to make my hair feel better.
Wow, they sound like too much hard work. I don’t think I’ll ever use hair extensions
No extensions here.
I have seen ads for Vegamour on social media but didn’t know anyone who had tried it. Interesting!
I’ve never had hair extensions before! My hair is already quite thick so I guess I’m lucky
Yes, extentions are beautiful, however caused lots of damage, this a great article combined with supplements and care
Scalp producrs are invigorating
Interesting tips
I do enjoy also a good scalp scrub
That shampoo & conditioner are expensive!
I use a scalp stimulating brush & I’ve tried Viviscal supplements – my hair really grew quicker!
You wouldn’t need extensions in the future with her hair looking so lovely
I have never had extensions, but it was good to hear in case I get them in future on how it affects the head and scalp afterwards and how to help repair the hair and scalp.
Some good tips there. Not thought of using growth serums before, not sure if they work?
I have never tried hair scrub before.
Must check out the vegamour products.
I haven’t tried a scalp scrub yet
My hair is plenty thick enough, one reason I’ve never considered extensions.
Vegamour sounds kind to the hair.
Your hair looks so healthy.
Nice tips, not relevant to me but still look handy
I naturally have very thick hair and i have plenty of hair but ill keep these in mind when im older and potentially loose a bit of my hair